[V4.0] User Manual: Pages
In [V4.0] User Manual: Basic Editing we learned how to add and edit text and pages, and in [V4.0] User Manual: Assets we learned how to add other kinds of content: images, files, etc. Now we'll move one level up - working with whole pages at a time.
When you're logged in to BrowserCMS as a content editor, you can simply click links to navigate from page to page. Alternatively, you can use the Page tab which looks like this:
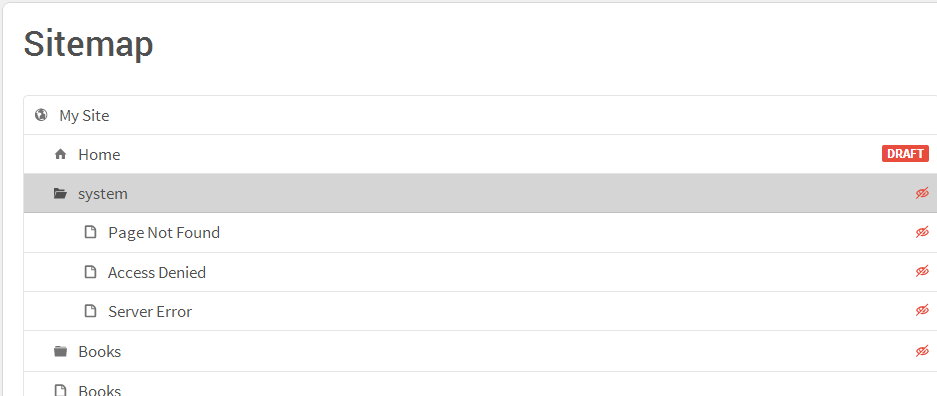
The Pages tab shows a more conventional ‘file and folder’ list of site pages. Sections are listed with a folder icon next to them - in this case, "Books" is a section. The pages that belong to that section are listed underneath, slightly indented. On the right hand side are icons to indicate a page in draft status, or (with the crossed-out eye) hidden from user navigation.
You can expand/collapse sections by clicking on the folder name. When you hover over a page name, the View, Edit, and Remove buttons appear:
- View will edit the content on that page. I find the terminology confusing
- Edit will edit the properties of that page like the name, the template, the status (hidden or not)
- Remove will remove the page permanently.
Using the Edit button on the Pages tab brings you to the Configure Page screen:
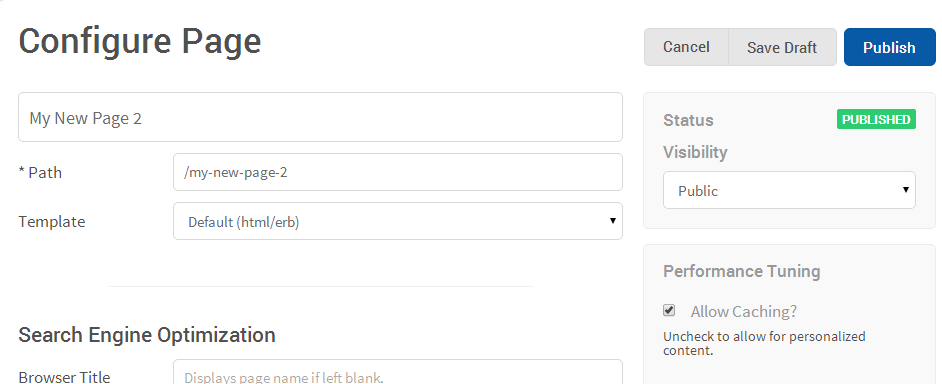
Properties are data about the page itself (as opposed to the content on the page):
- Name appearing at the top is the internal name of the page. Just as assets have a name, so pages have a name. Unlike assets, this name is also displayed to the user at the page top and the browser title if Browser Title is not filled in.
- Path is the url for this page (minus your server name), and is automatically generated from the name. You can type one in yourself if you wish, but it must conform to the rules for url's - no spaces, no slashes, etc. If you want more than one url to point to the same page, you can use a Redirect, which we describe below.
- Template is the general form of the page. Designers usually give you a set of templates, and you pick the one you want here.
- Browser Title is displayed to the user instead of the page name. This is useful for pages that change frequently. For example, you can name a page "Products", and give the Browser Title "Products for 2014." Then in 2015, you merely change the content of the page and change the Browser Title to "Products for 2015".
- Meta Dscription, Keywords and Language are used for SEO (Search Engine Optimization). A good book on SEO will give guidance on how to fill these in.
- Visibility can be either Public (show this), Archived (don't show this, but keep in page catalog), or Hidden (use this, but don't show in a menu). Hidden is used for mostly for System pages, which we describe below.
- Allow Caching? is checked on by default to speed user viewing of pages. If this page has only dynamic content like Portlets, you should check this off so the page shows the latest information.
A section is a group of pages. From your site user's point of view, the top navigation menu lists the sections of your site:
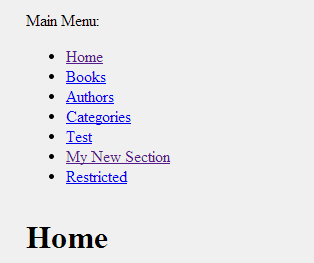
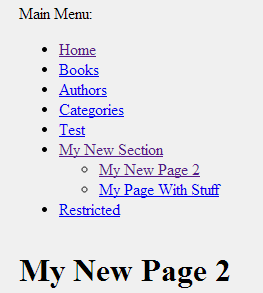
When they drill down to a particular section, for example clicking on "My New Section", the user arrives at the first page of that section, and a menu of section pages appears:
You can create these sections at any time and reorganize your pages into it. Sections not only organize content for the user, they also can determine security, as we'll see in [V4.0] User Manual: Administration.
To create a section from the Pages tab (or any other tab), choose Section from the New menu.
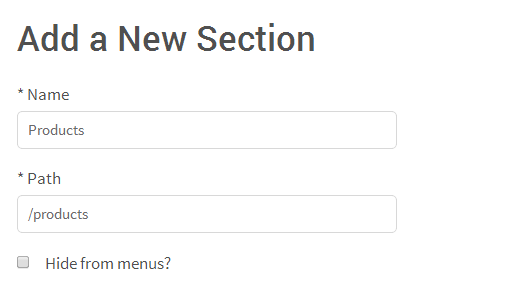
When you click Save the section will appear in the Page tab. From there you can:
- Rearrange Sections by dragging-and dropping the section names. The order they're listed here is the order they're listed on the menus.
- Place Pages Into Sections by dragging-and-dropping page names to the section name. This will place the page into the bottom of that section
- Rearrange Pages Within the Section by dragging-and-dropping page names into the place you want.
- Edit a Section Name by hovering over the section name and clicking Edit. Change the section name and click Save.
- Hide a Page From the Section Menu by hovering over the page name and clicking Edit. Change the visibility to Hidden and click Save. Hiding a page from a menu means its still accessible to the public (if the user knows the URL), but just doesn’t appear in the menus.
- Remove a Section by hovering over the section name and clicking Remove. All pages must be removed from the section first. If you don't see the Remove button, it means you still have pages in that section.
Be aware that all of these tasks will immediately make changes in how the site menus appear (there is no ‘publish’ step needed).
BrowserCMS comes with a special section called System. The section itself is hidden, so it doesn't appear on menus. The pages in it are displayed when certain things happen:
- Page Not Found is displayed when the user tries to access a page that no longer exists. Like all pages, you can place any assets you want here - a Customer Feedback portlet ([V4.0] User Manual: Assets) would be a good choice.
- Access Denied is displayed when the user tries to access a secure page they're not authorized for. Securing pages is described in [V4.0] User Manual: Administration.
- Server Error is displayed if some code on the server fails for some reason. Generally this is the result of a code bug in a template or portlet. Again, a Customer Feedback portlet is a good choice here.
Note: this feature is only available to CMS Administrators
Removing a page, moving a page to a different section, or manually changing the URL of a page can leave customers in limbo. If they have a bookmark to this particular page, they will get a "Page Not Found" and not know what to do next.
You can make it easy on them (and search engines like Google too) by creating a Redirect. This tells the browser "go to this URL instead".
To set up a Redirect, choose "Redirects" from the Admin menu:

Click Add to set up a new Redirect:
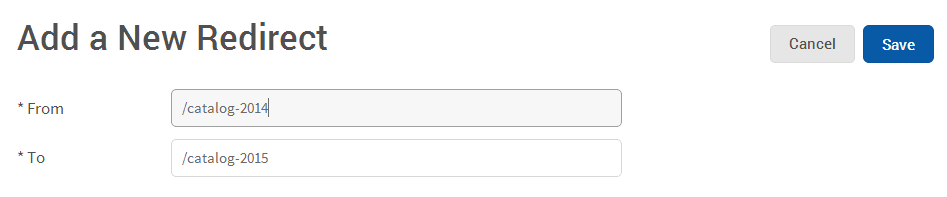
And type URL's in the From and To boxes. In the above example, if a user or search engine tries to hit http://yoursite.com/catalog-2014, they will be redirected to http://yoursite.com/catalog-2015. The URL will change at the top of the browser to let the user know the new page URL.