Marmotte
Wifi name: norlab_hot_5G
Username dell: robot
Hostname dell: marmotte-dell
IP address dell: 192.168.55.77
Username xavier: robot
Hostname xavier: marmotte-xavier
IP address xavier: 192.168.55.159
Here is document giving informations about Marmotte's motors, batteries and general specs: Click here
This is a platform ordered from superdroidrobots.com. An existing model was modified by the manufacturer to fit the specific needs of our equipment on board.
- HD2 Treaded Tank Robot Platform from (superdroidrobots.com)
- Baseline: 0.5927 m
- Wheel radius: 0.116 m
Our robot uses two motors with encoders, and two without. It is equipped with IG52-04 24VDC 285 RPM gearmotors
The hardware used to communicate from the computer and send commands directly to the motors is the RoboClaw 2X60A Motor Controller from basic micro
There is a TP-Link AC750 Wifi Travel Router Module installed on the robot. The SSID is TP-Link_3A18. The password is 17716253. To access the admin panel of the module, connect to the Wifi and go to http://tplinkwifi.net (wait 10-20s even if there's a "Can't access' error page. The web page is slow to initialize). The username is admin and the password is admin. The Wifi device is configured to AP/Rng Ext/Client in order to create a Wifi Access Point to bridge the ethernet connection to Wifi clients.
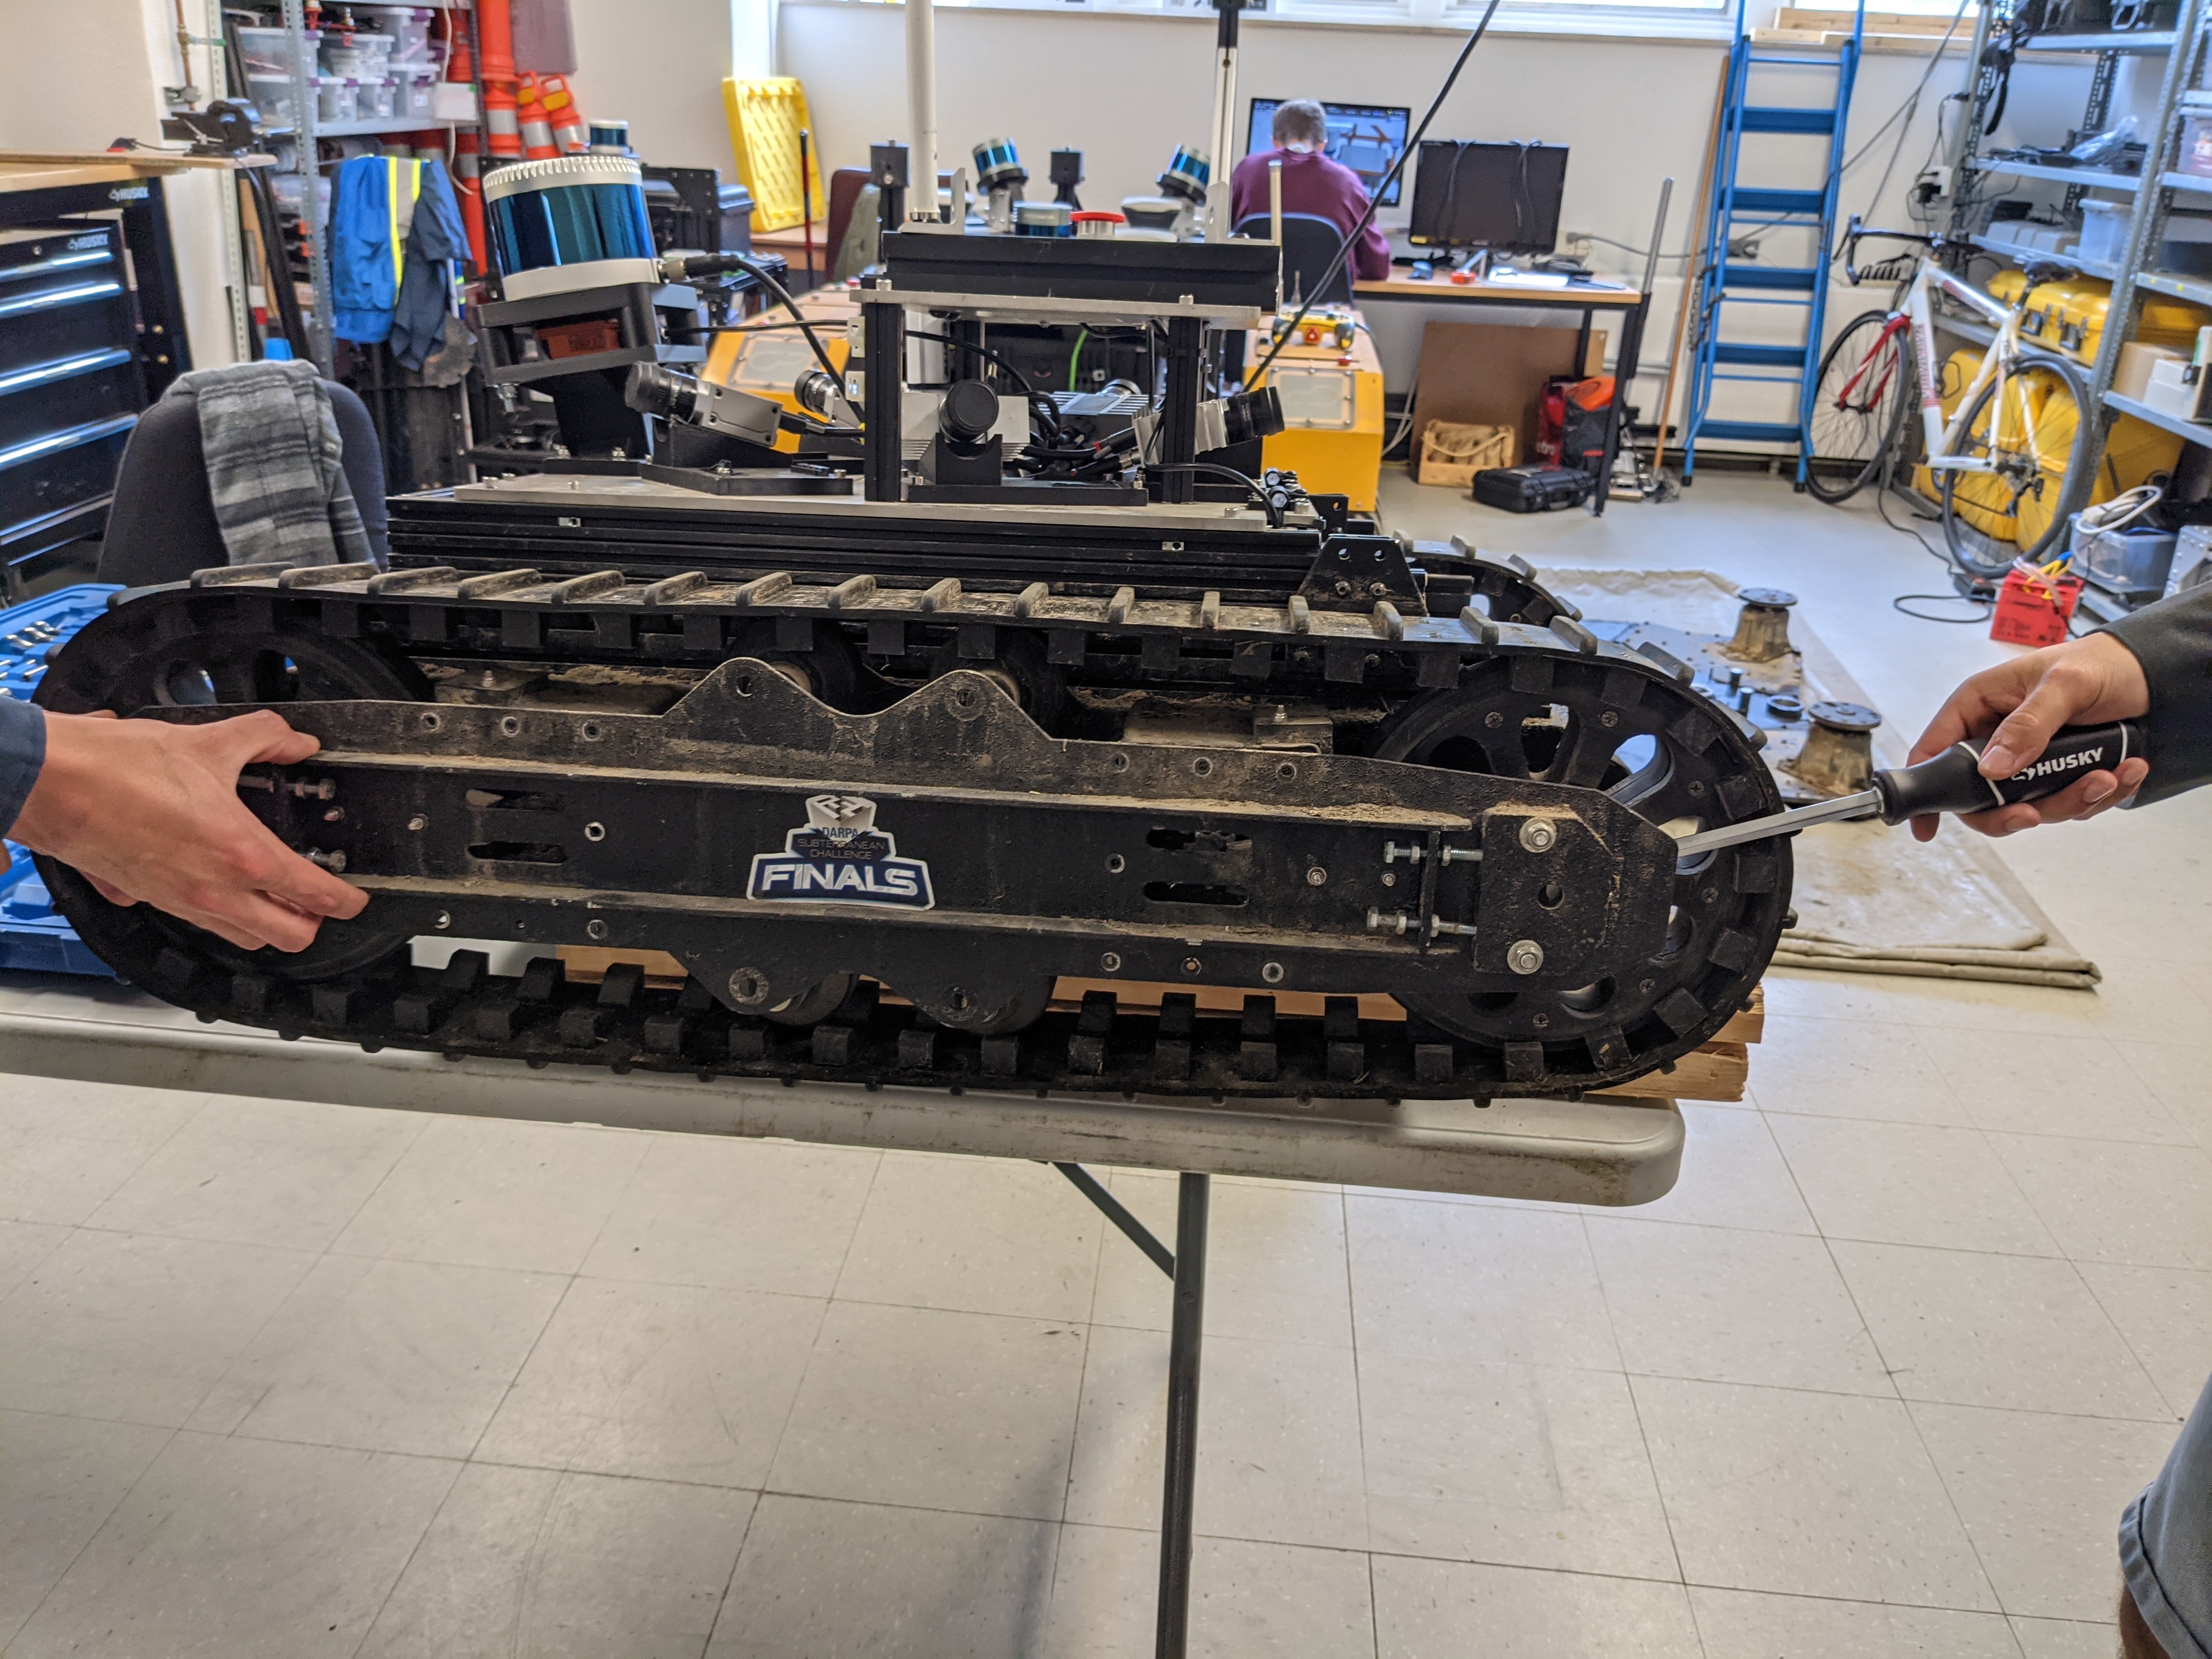
Mechanical wear will eventually lead to marmotte's chains breaking. This section is a tutorial on how to disassemble marmotte's sides, clean and lubricate the powertrain. This job can be done with 2 people, for 4 hours.
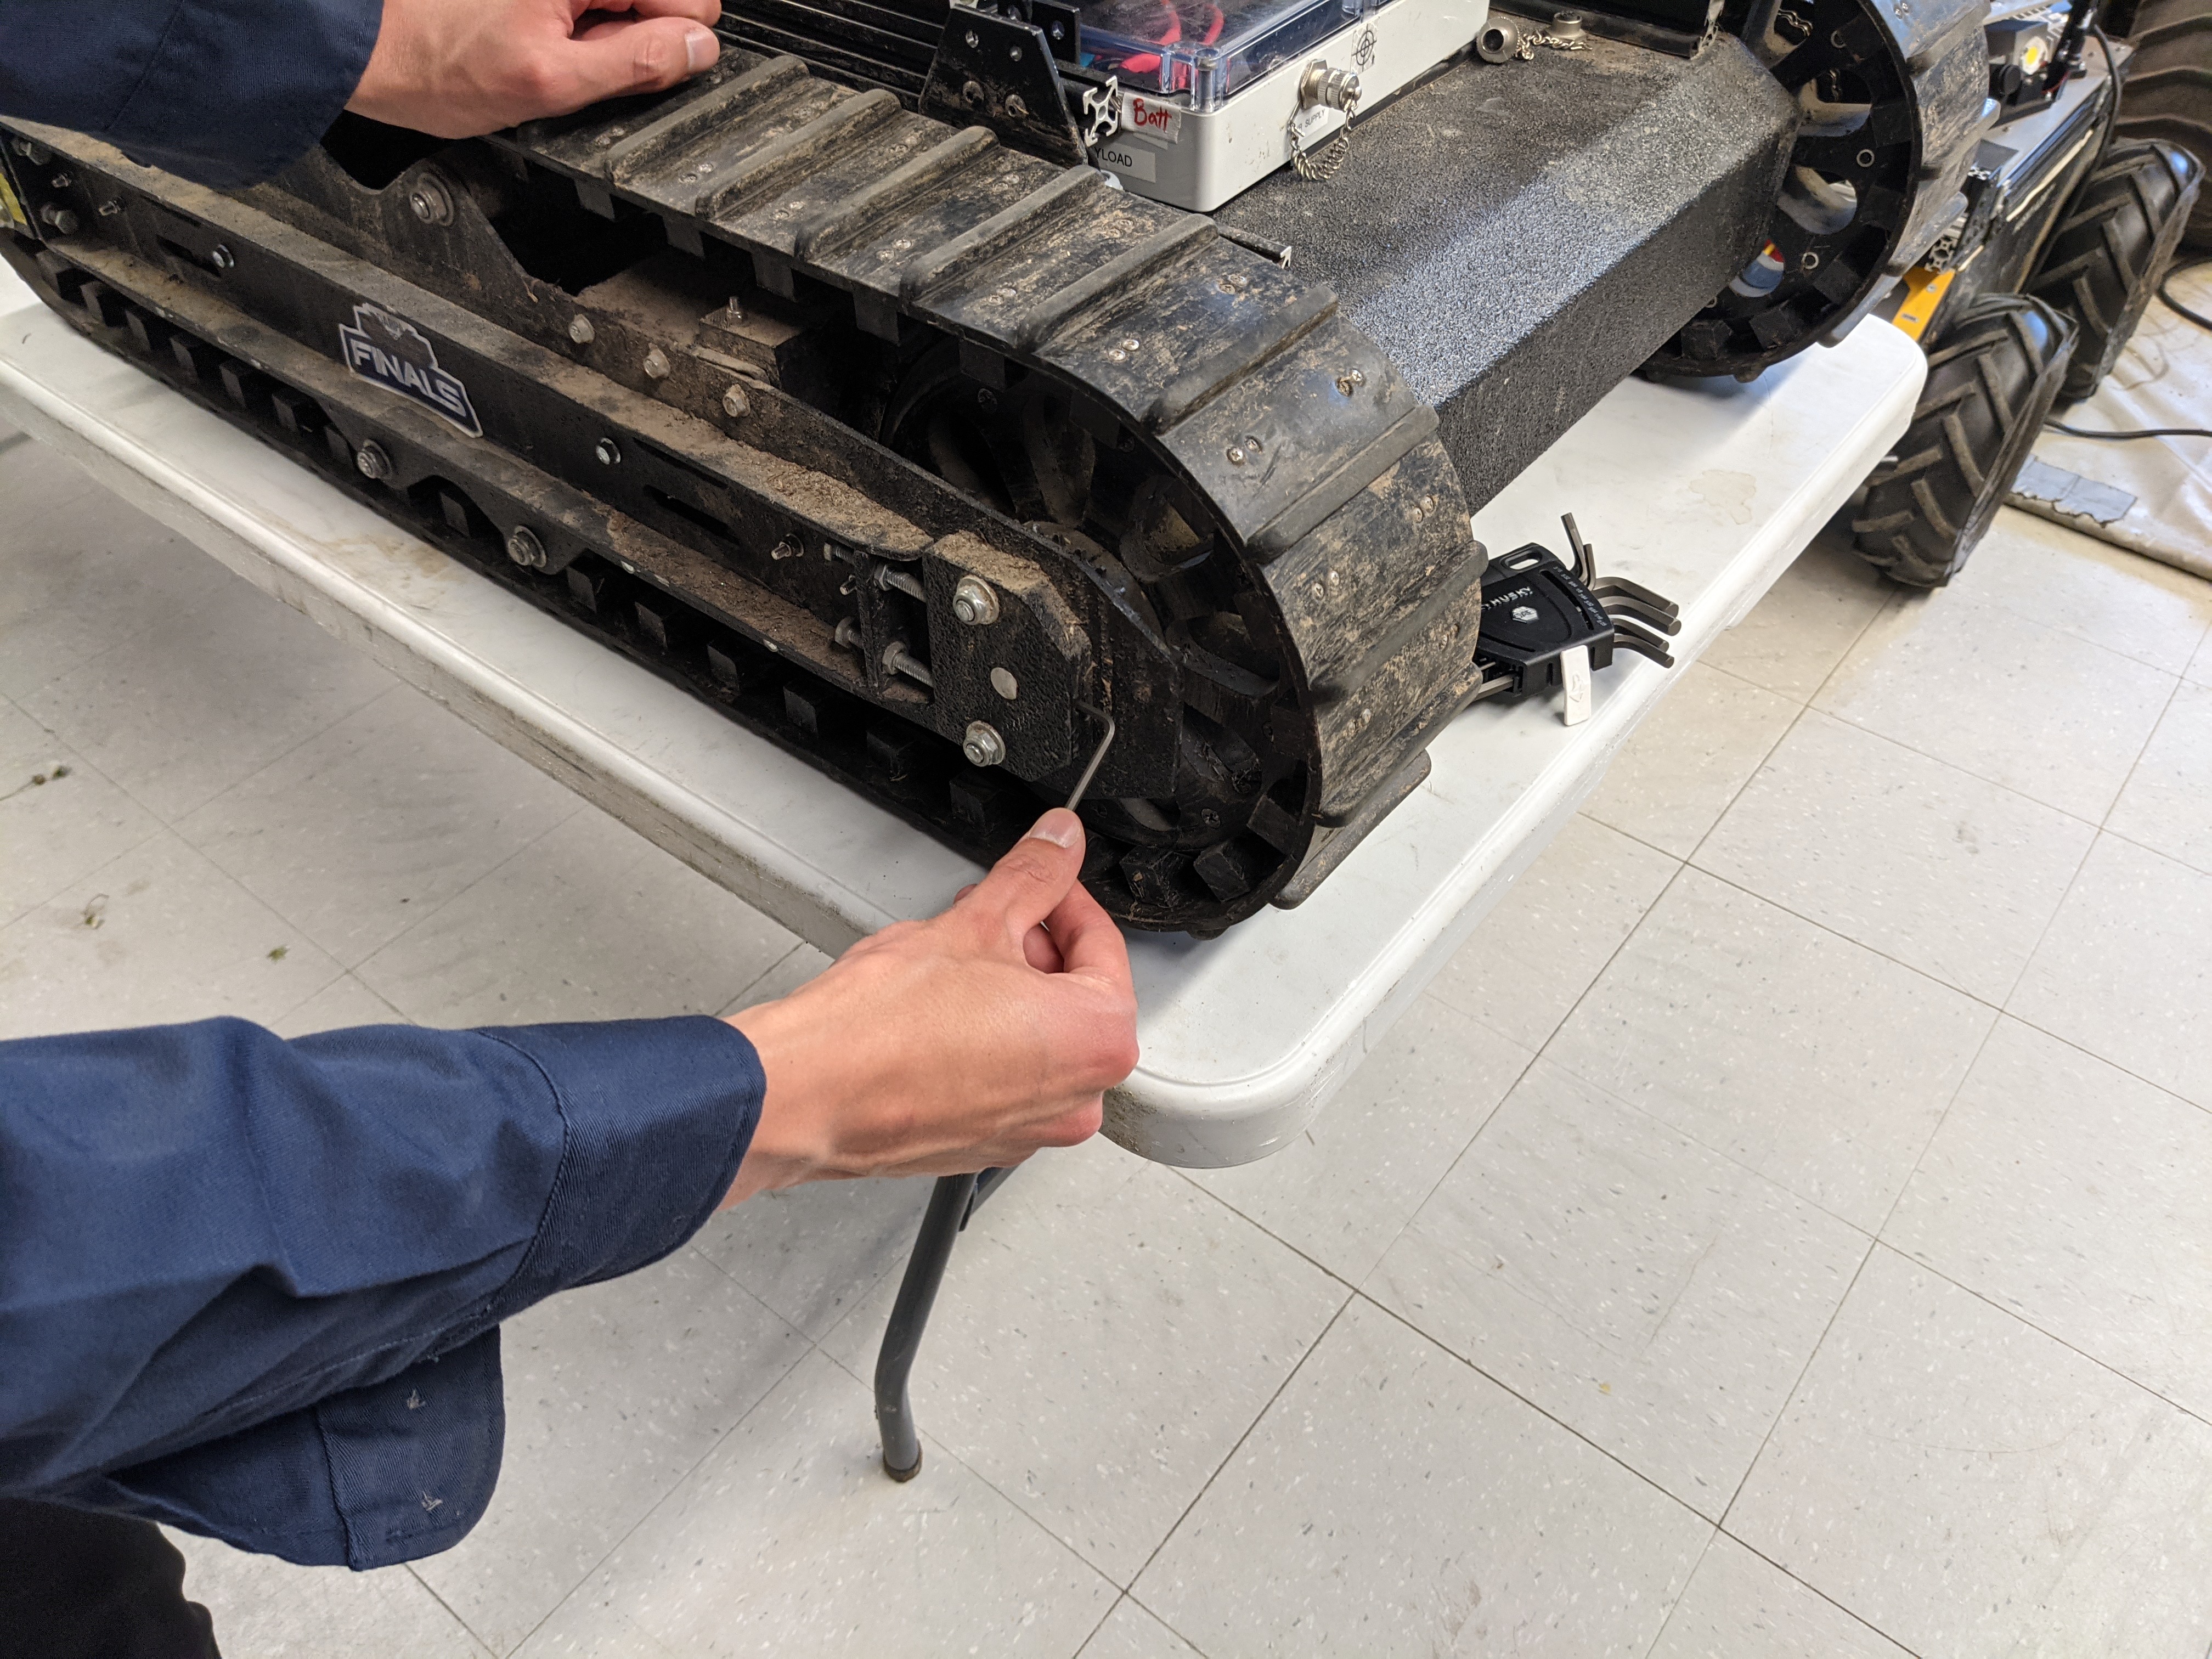
1- The first step is to remove the set screws holding the sprocket tensioners.
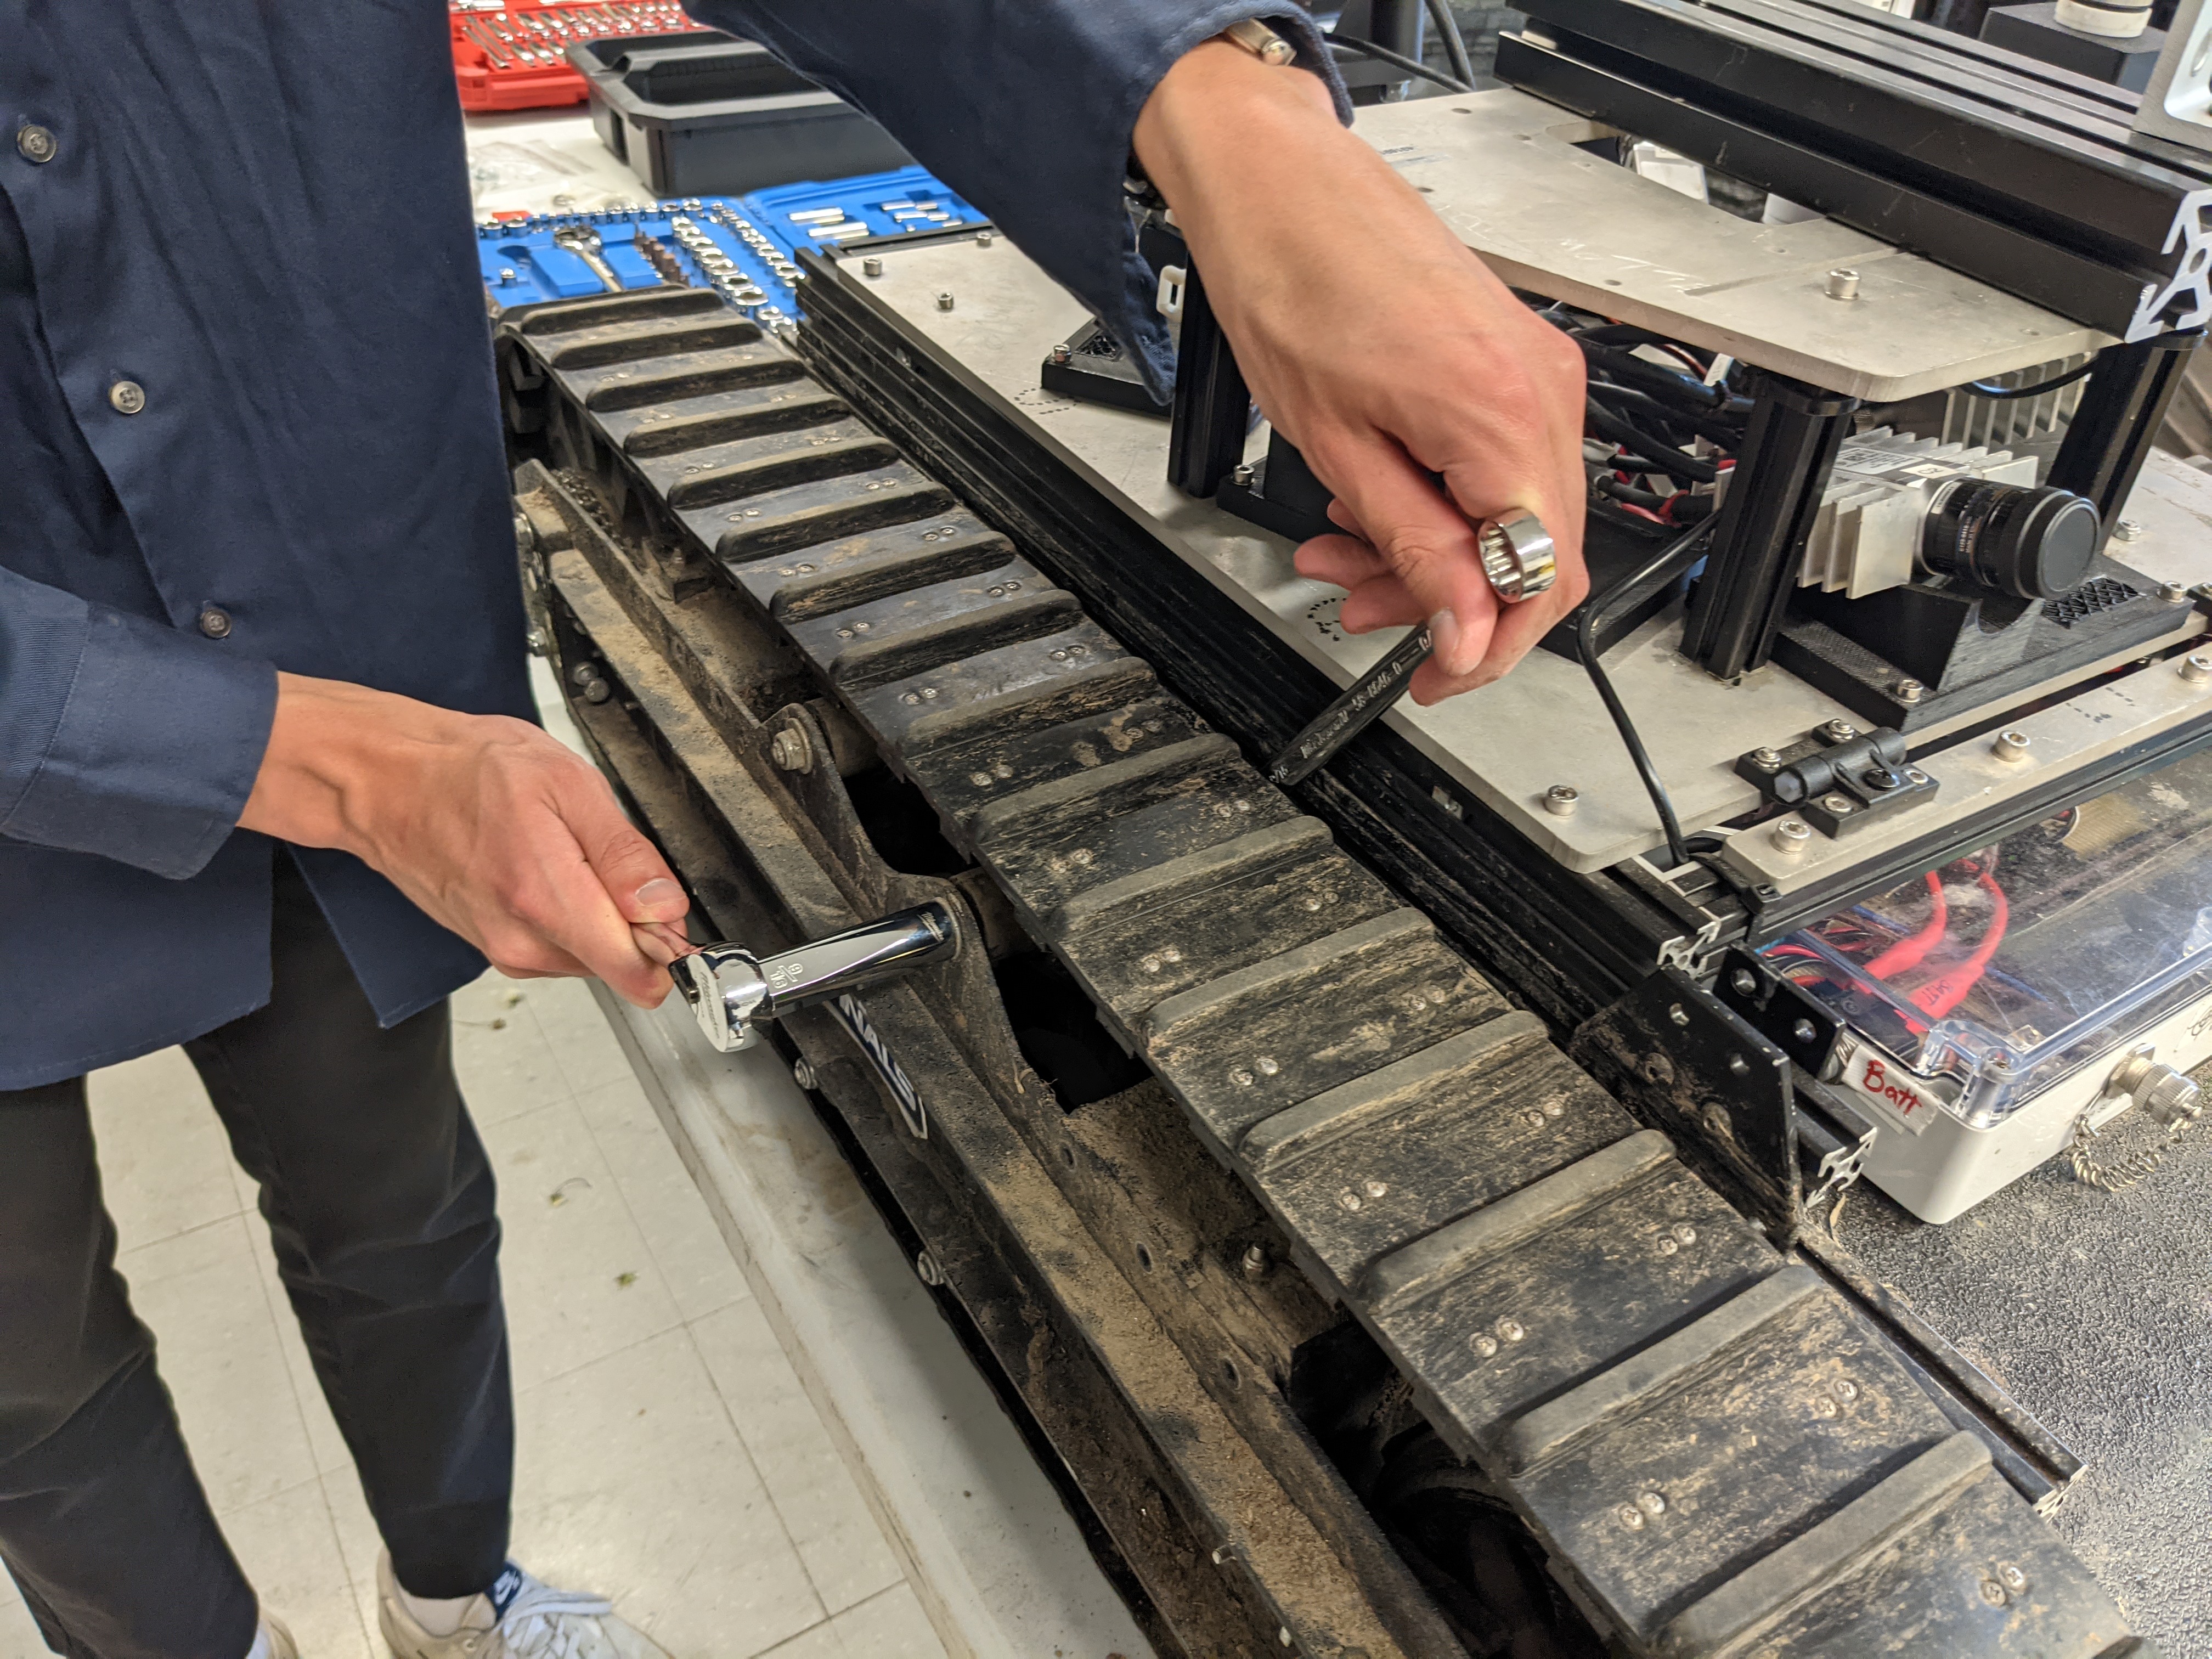
2- Remove the metal screws holding the plate.
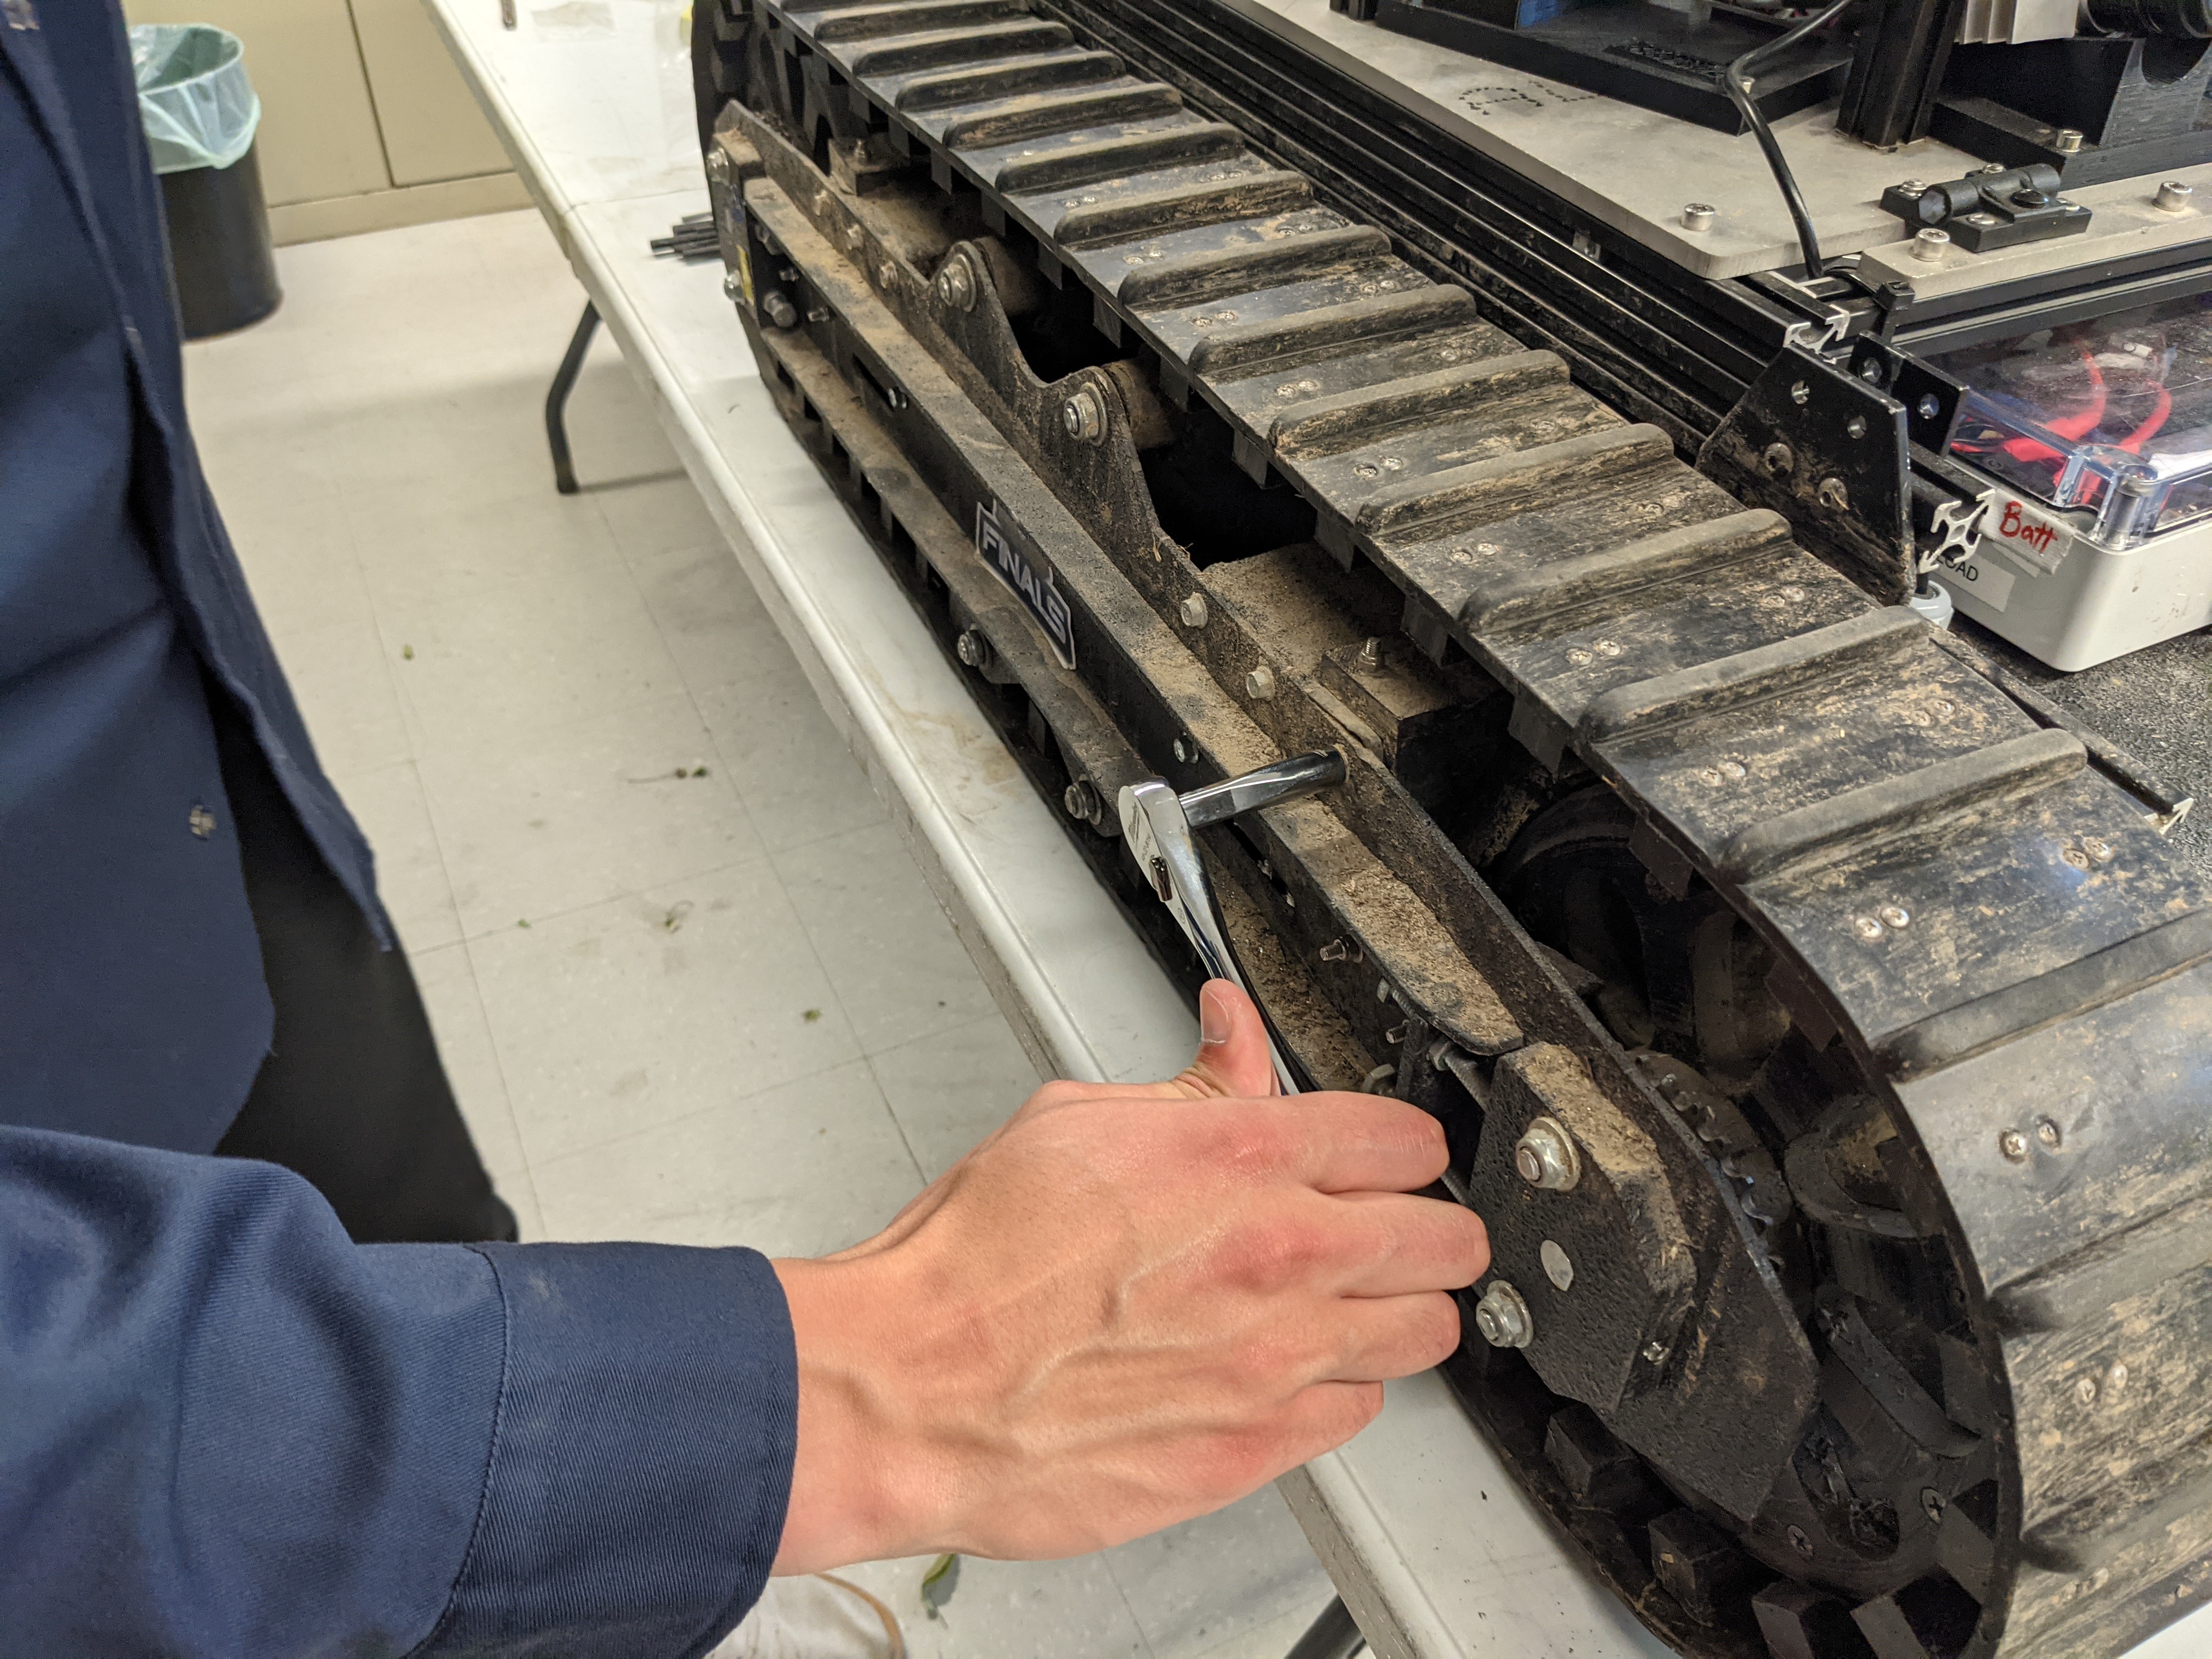
3- Remove the bolts holding the plate.

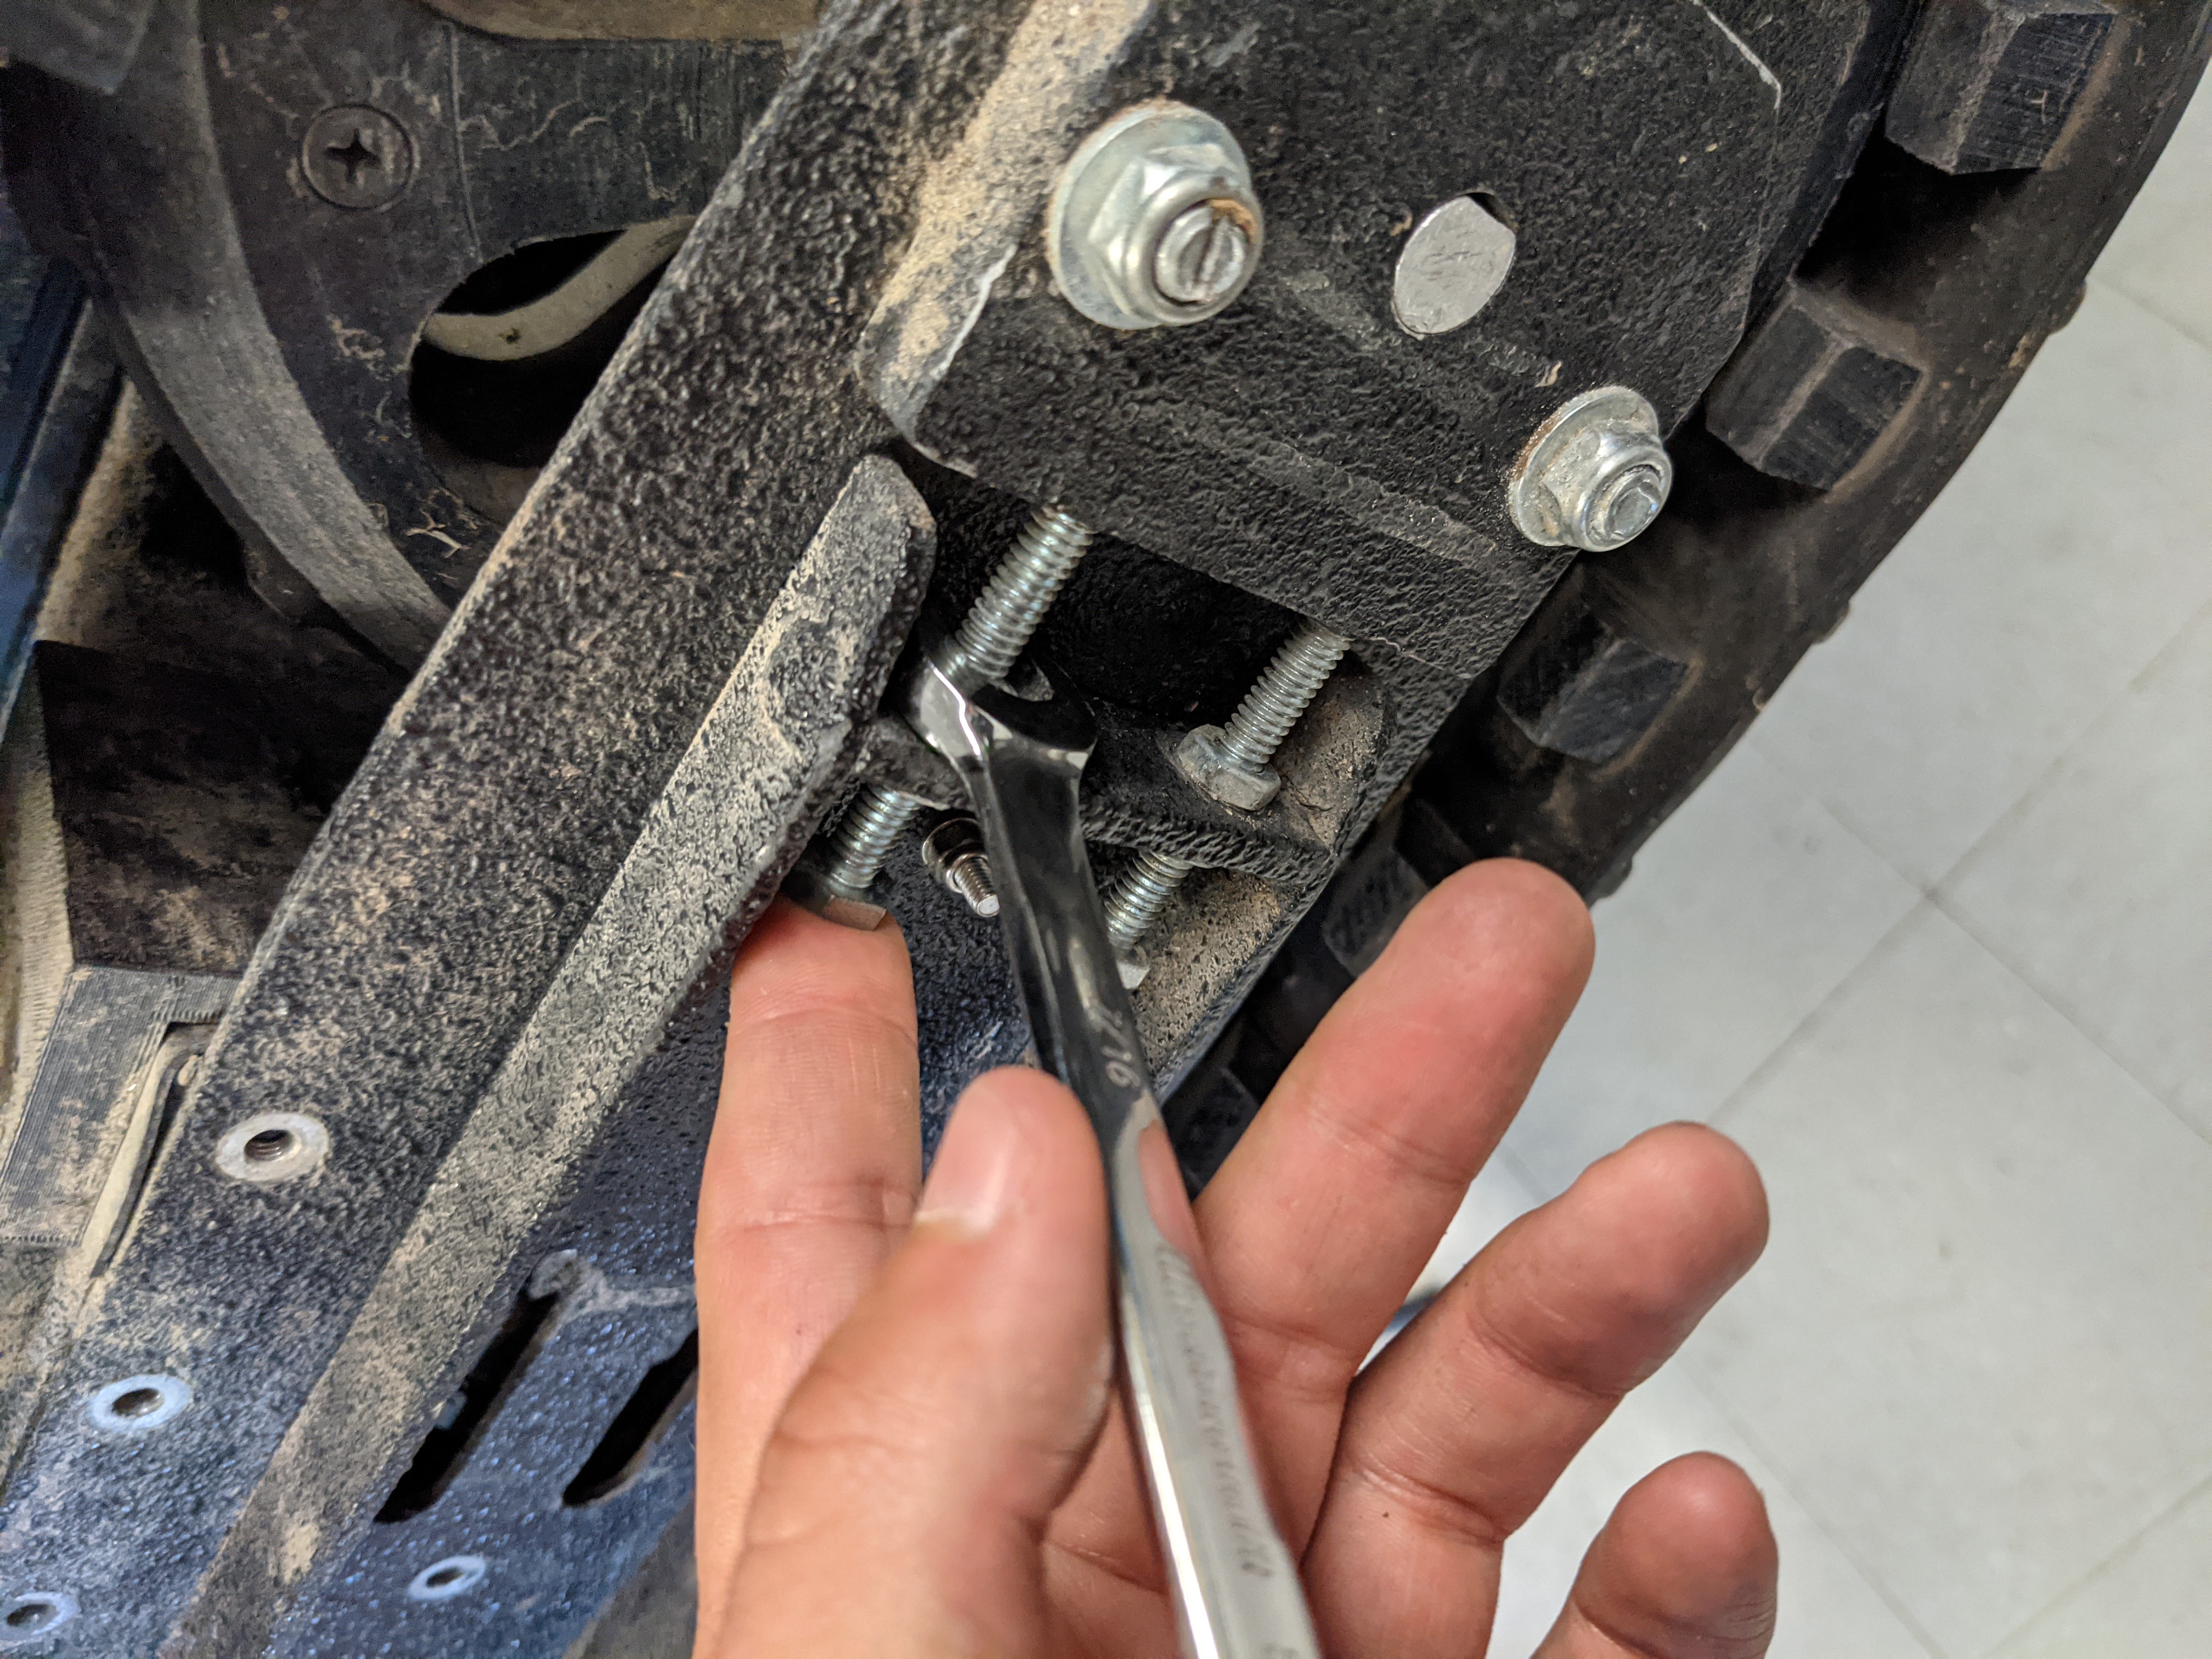
4- Loosen the tightening screws, you can do this by only loosening the inner nut and pulling with your finger.
5- Pull on the plate to remove, you should use a flat screwdriver to help you pull on both sides evenly.
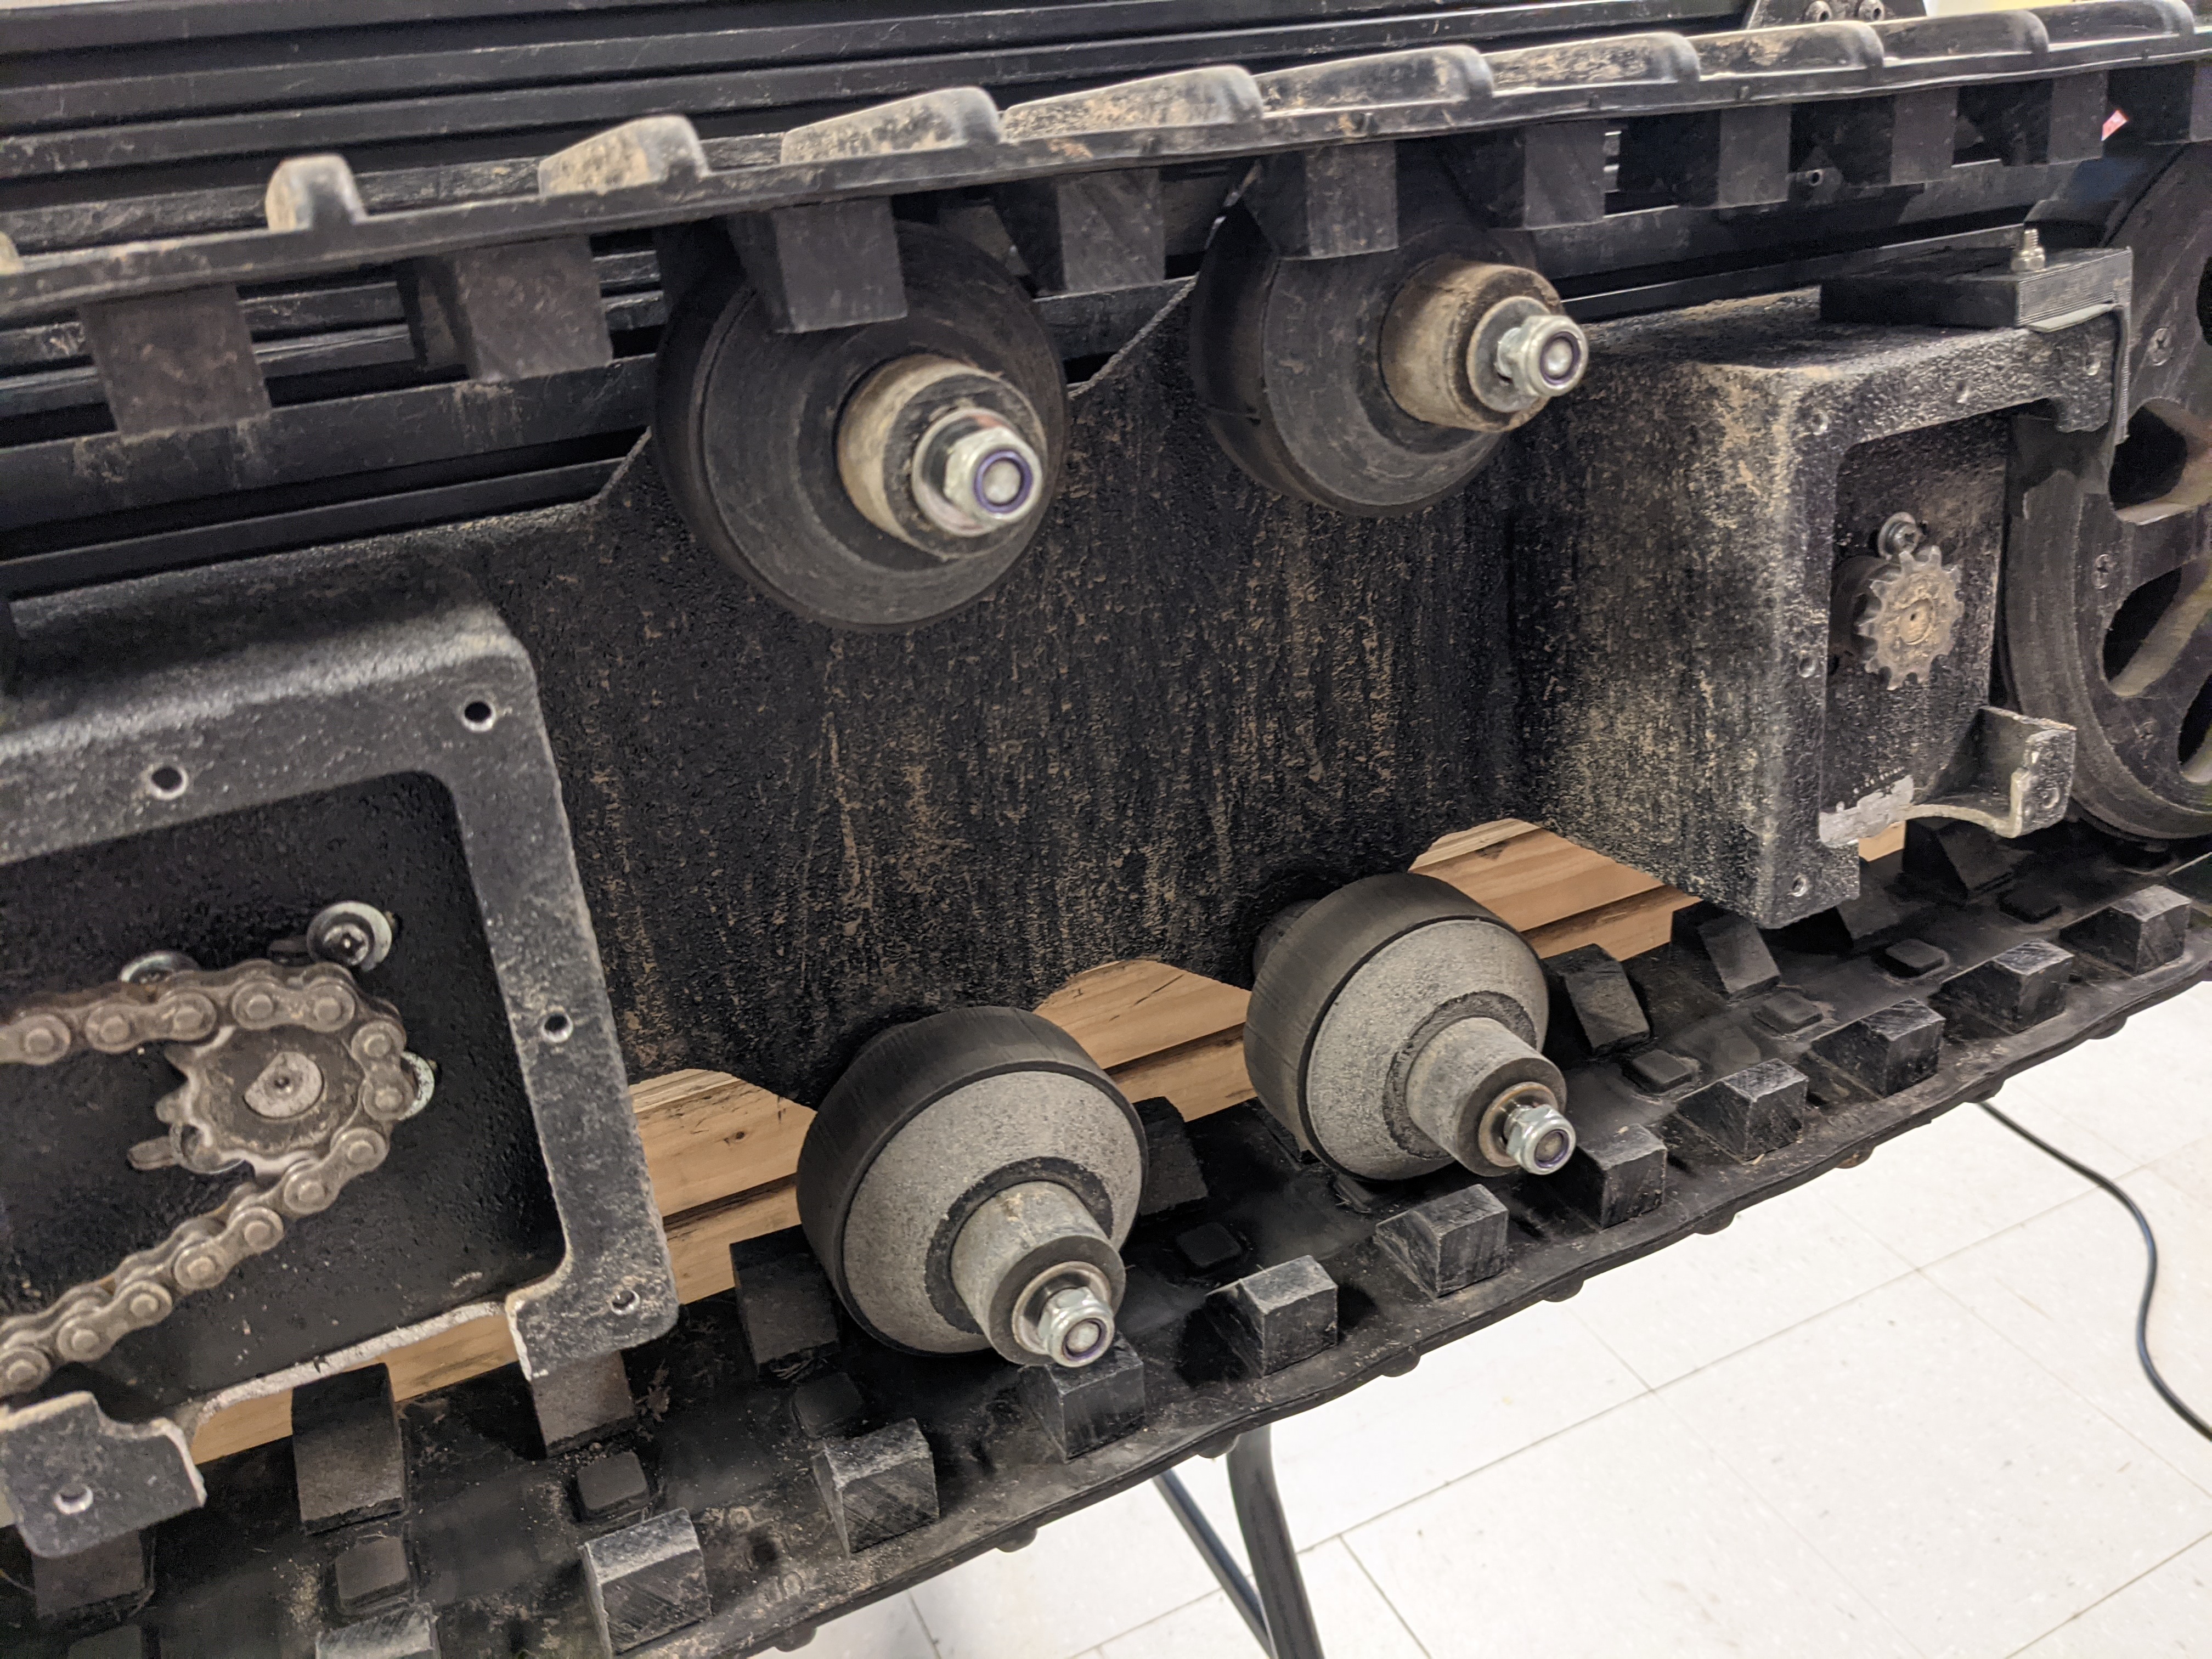
6- You can clean the interior of marmotte's powertrain.

7- Remove, clean and lubricate the rotating rubber wheels.
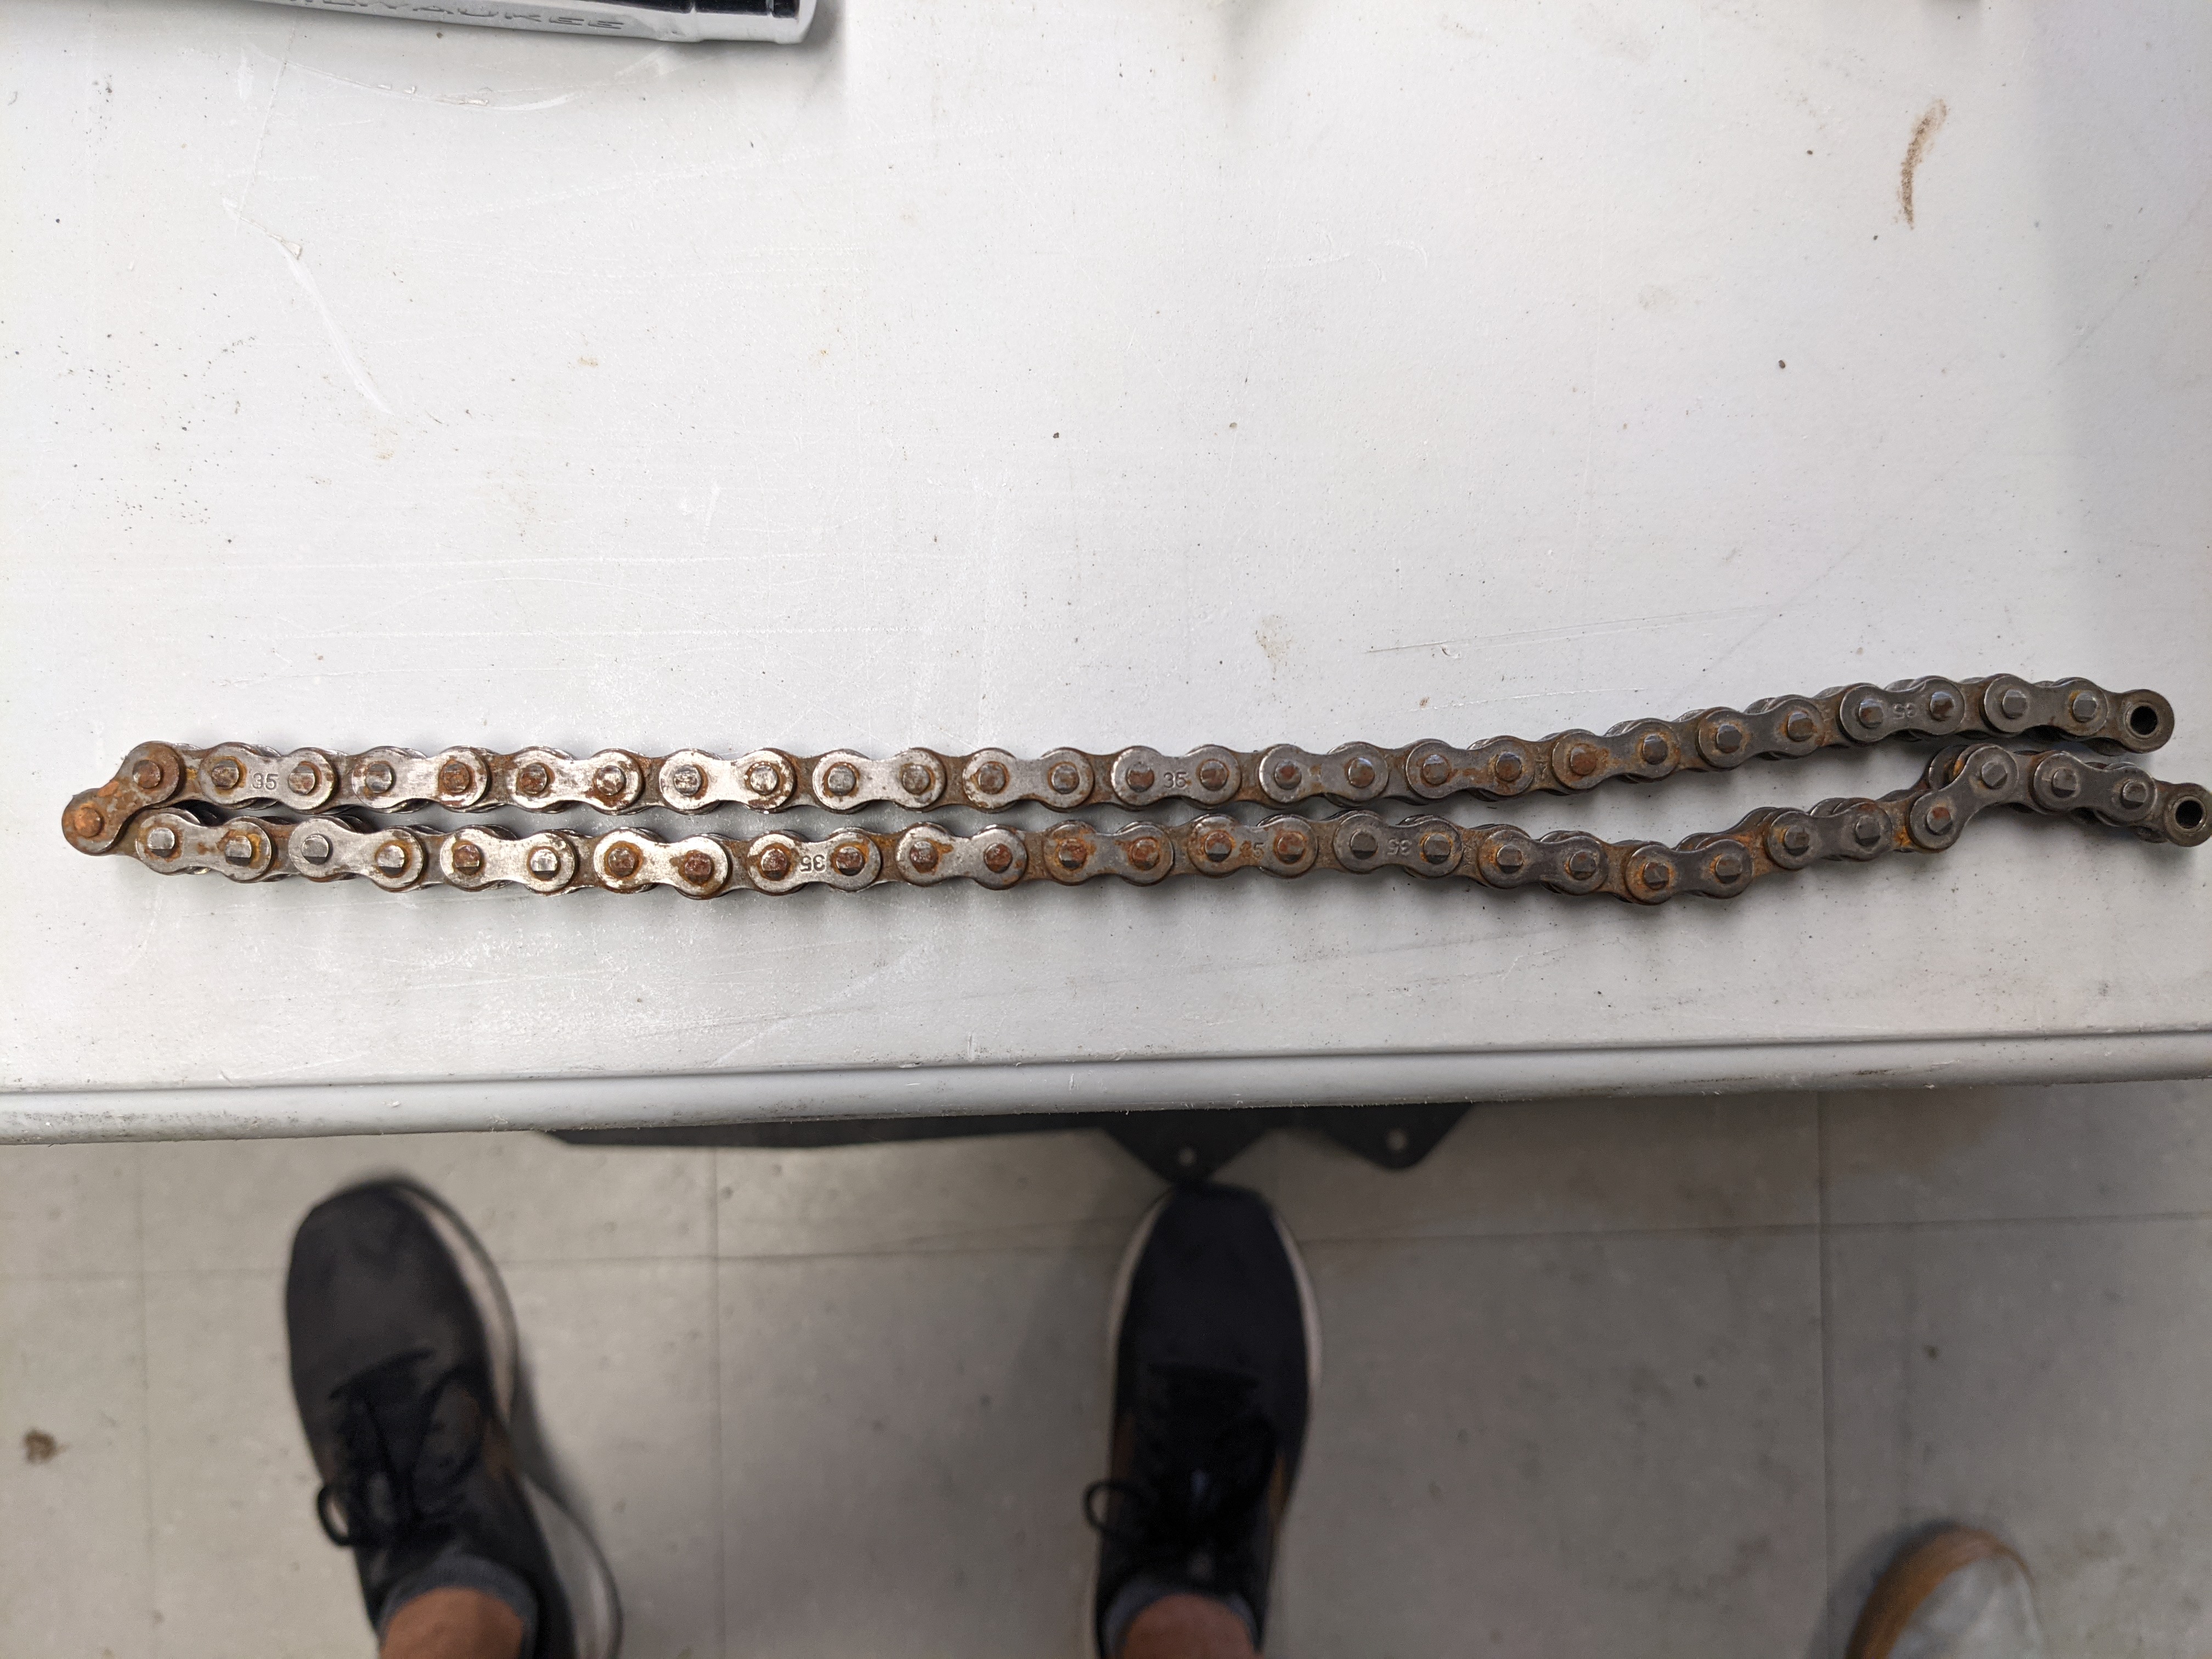
8- If you need to replace the chain, you need a #35 chain with 56 links (excluding the master link). Here is a picture of the disassembled chain:
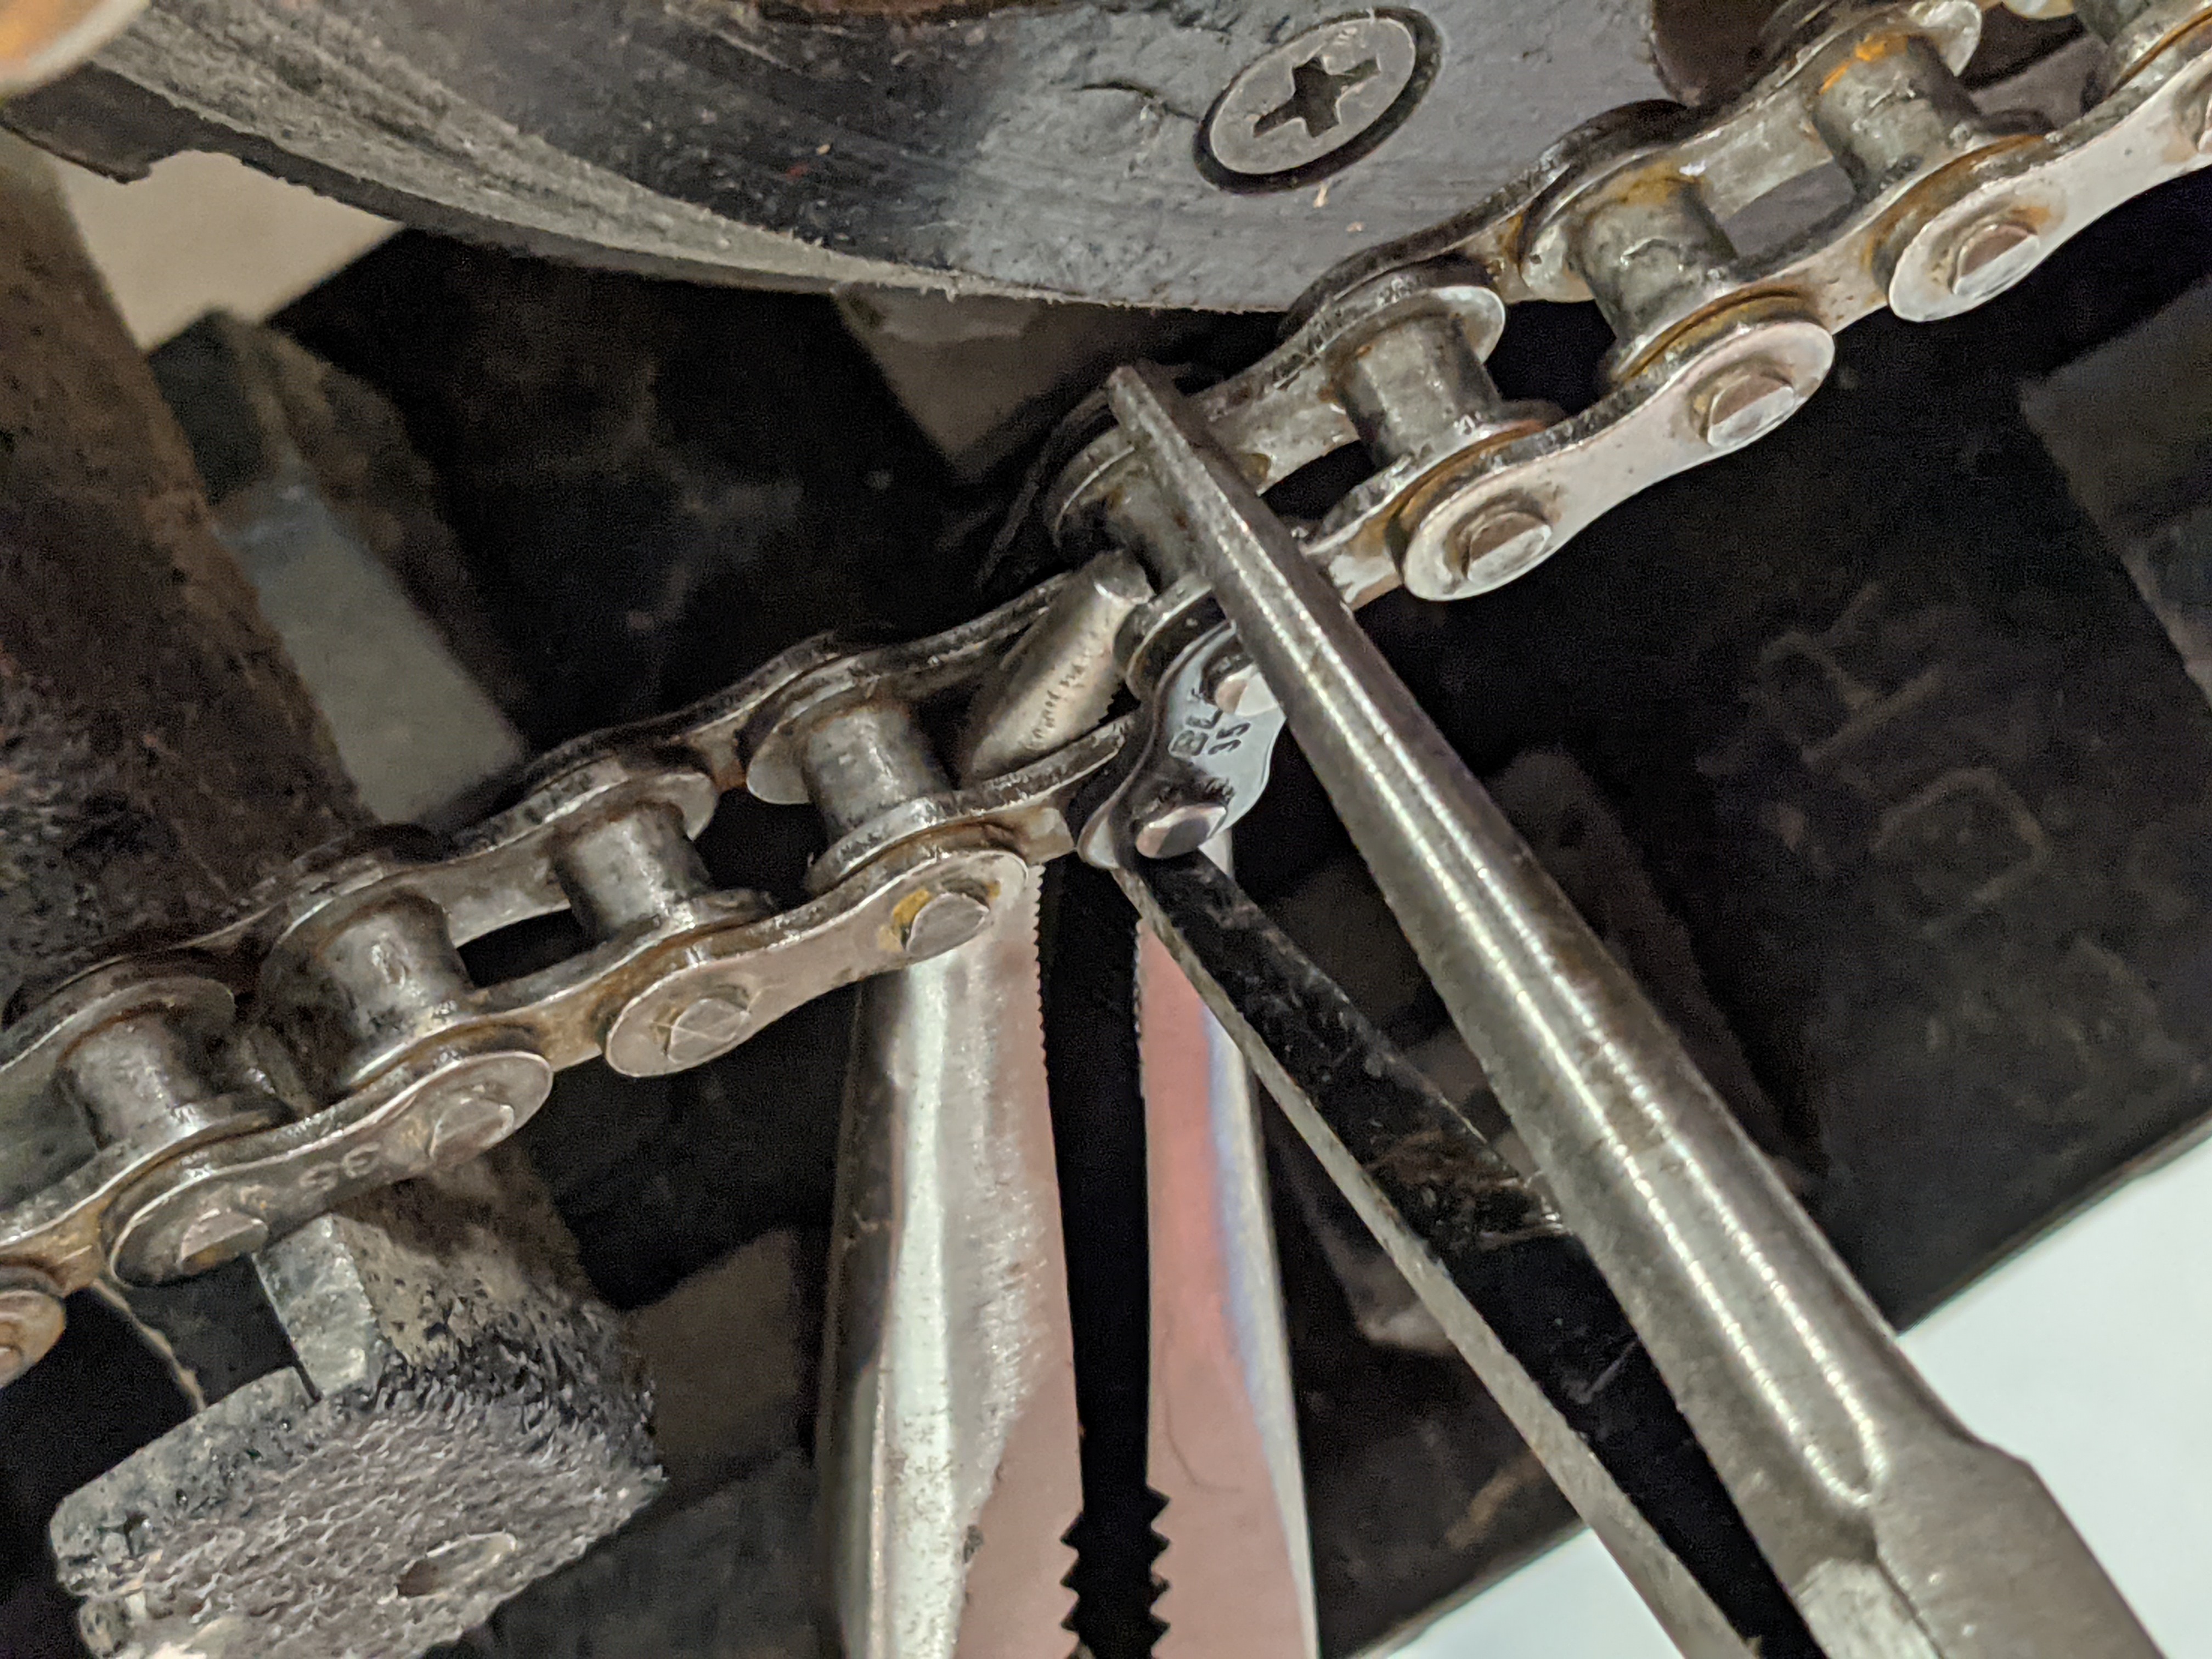
9- To add the chain, pass the chain through the motor and wheel sprockets and add the master link. The holding part should be located towards marmotte's body. You will need to work with pliers to snap it in place. Don't forget to lubricate the chain with bike wet lubricant (we should have some in the yellow locker, otherwise it can be purchased at Coop Roue Libre on campus).
10- Reassembling the powertrain is done by following the previous steps backwards. Note that you will need to pull hard on the sides of the tracks to extend and put the plate back in (step 5), it helps to be 3 to 4 people for this step. Also, do not overtighten the metal screws as it will break the threading inside marmotte's metal parts (step 2). Same for the bolts holding the rubber wheels to minimize friction in the powertrain (step 3).