Getting Started꞉ Item Layouts
On this page, you'll learn how to automatically arrange items via layouts.
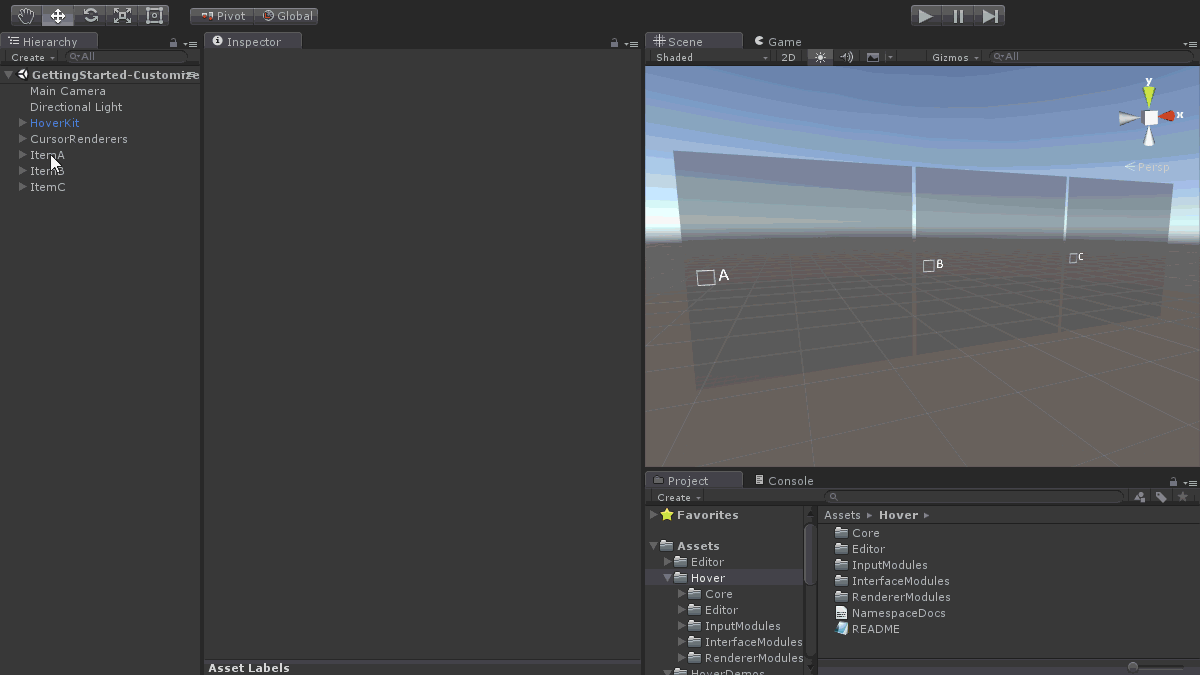 📷 Arranging items manually, within a row layout, and within a nested column layout
Please note: the following instructions do not exactly match the animation. Most of the following steps can be performed in a different order. For example, you can configure a layout's settings before adding any items into it.
- Complete the Scene Setup step.
- Add some items to your scene. See the Checkbox Item or Slider Item instructions for assistance.
- To position an item individually, move or rotate its transform to the desired position.
- Create an empty GameObject named RowLayout.
- Attach the
HoverLayoutRectRowcomponent to RowLayout. - Drag item objects to become children of RowLayout.
- Attach the
HoverShapeRectcomponent to each item. The layout cannot find or adjust an item until it has the shape component attached.
- Attach the
- Select the RowLayout object.
- Move or rotate its transform to the desired position.
- Set the
HoverLayoutRectRowproperties for the desired size and padding.
- Select, then duplicate, the RowLayout object (using "Edit > Duplicate" or "Ctrl+D" in Unity). This also duplicates the object's children (in this case, creating additional items in the scene).
- Move it to become a child of the original RowLayout object. Note that the child index (within the list of elements within the row) determines the element's position within the layout.
- Rename the duplicated layout to ColumnLayout.
- Set the
HoverLayoutRectRow"Arrangement" property to "Top To Bottom".
- Attach the HoverLayoutRectRelativeSizer component to ColumnLayout.
- Set the "Relative Size X" property to control the amount of horizontal space it consumes within the parent row layout.